Leave Your Message
No Hub Plumbing fittings may look simple on a workbench: a coupling, a compact elbow, or a rubber reducer with a stainless-steel shield. Their performance, however, depends on choosing the right fitting and assembling the joint correctly. For cast-iron soil pipe, common options include straight couplings, transition couplings, elbows, tees, wyes, and end caps. Each serves a different layout or connection need.
The U.S. Census Bureau reported approximately $2.14 trillion in U.S. construction spending during 2024, a reminder of the scale of building work that depends on reliable drainage systems. That figure is not specific to no-hub products. For technical requirements, installers and specifiers should consult applicable standards, including ASTM C1277 for shielded couplings and CISPI 301 for hubless cast-iron pipe and fittings. Details matter. A coupling’s shield, band configuration, and size must suit the pipe and application; visual similarity alone is not enough.
Plumbing educator Dan Holohan is known for explaining systems through practical field lessons. The following is an editorial summary, not a verbatim quotation: “Choose the fitting for the joint, then verify the assembly.” That distinction helps frame this guide. It will compare the top No Hub Plumbing fitting types, explain where each is commonly used, and identify details worth checking before installation. Even a small mismatch can cause trouble. And product instructions deserve a careful read.
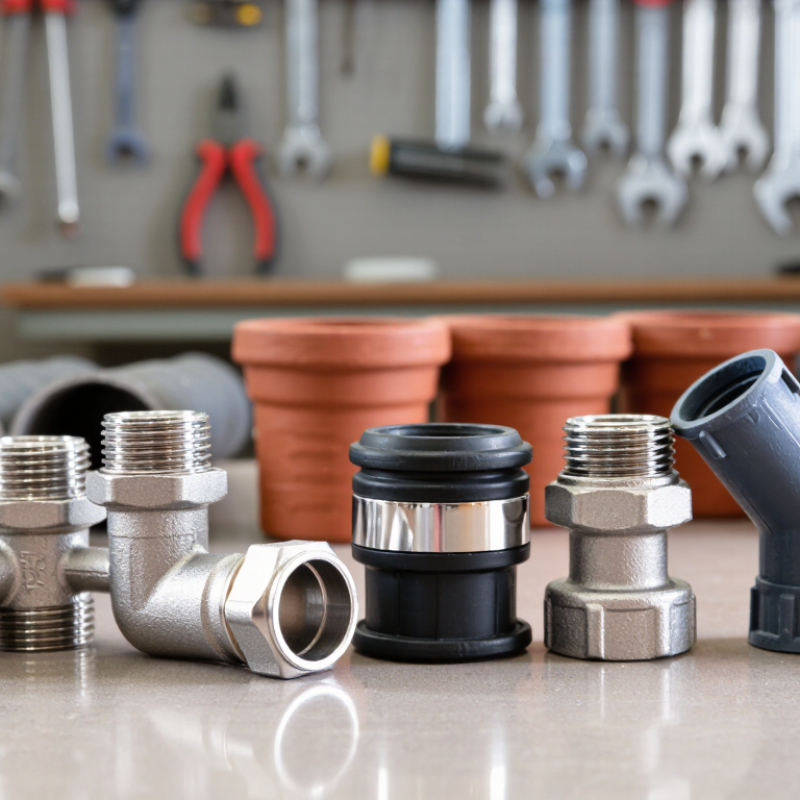
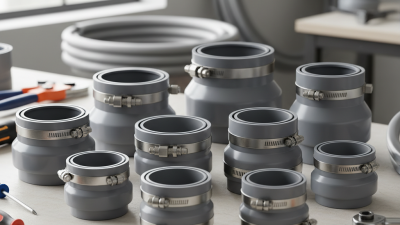
No-hub fittings connect drainage pipes with plain ends, without threaded joints. A common option is the shielded coupling: an elastomer sleeve sits around the pipe ends, while a metal band and clamps hold the joint in place. Simple in appearance. The sleeve helps seal the connection, and the shield helps keep the pipe ends aligned. Transition couplings serve a similar purpose when joining pipes made from different materials or with different outside diameters. Check the coupling’s stated compatibility before installation; similar-looking parts are not always interchangeable.
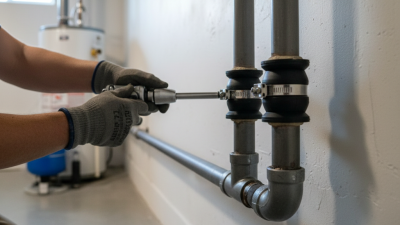
For a reliable joint, clean the pipe ends and bring them together in line, leaving the gap specified for the fitting. Slide the sleeve over the joint, position the shield, then tighten the clamps evenly with the specified tool and torque. A crooked pipe can strain the sleeve, even if the clamps feel tight. Support the drain line so its weight does not hang from the coupling. I would not judge a joint by appearance alone: a quick visual check can miss poor alignment or uneven tightening. Follow the fitting instructions and applicable plumbing requirements, and inspect the connection for leaks during testing.
| Fitting Type | Typical Configuration | Drainage Function | How It Connects | Common Application |
|---|---|---|---|---|
| Quarter Bend (90° Elbow) | A 90-degree change in direction | Turns a drainage run around an obstruction or into a vertical or horizontal section. | Each hubless end slips into a compatible no-hub coupling, which is tightened around the pipe and fitting ends. | Building drain offsets and connections to vertical stacks; fitting orientation and approved use depend on the system design. |
| Eighth Bend (45° Elbow) | A 45-degree change in direction | Provides a gradual directional change, often used in a pair to create an offset. | A shielded no-hub coupling joins each fitting end to an adjoining hubless pipe or fitting of compatible size. | Drainage offsets where a less abrupt turn is useful. |
| Sanitary Tee | A branch connection that sweeps into the main run | Connects a fixture drain to a vertical drainage or waste line while directing flow into the run. | No-hub couplings connect the tee’s hubless ends to adjoining pipe; the branch connection is also made with a compatible coupling. | Fixture branches into a vertical stack, subject to applicable code and installation requirements. |
| Wye | An angled branch, commonly entering the main at about 45 degrees | Introduces a branch flow into a drainage line with a swept junction. | Shielded no-hub couplings join the hubless ends to the branch and main pipes. | Horizontal drainage branches and other layouts where the approved design calls for a swept junction. |
| Combination Wye and Eighth Bend | A wye branch combined with a 45-degree turn | Creates a swept branch connection and directional change in one fitting. | No-hub couplings secure each hubless end to compatible adjoining pipe or fittings. | Drainage junctions where the system layout specifies a combination fitting. |
| Reducer or Increaser | A fitting with different end diameters | Transitions between specified pipe sizes. | Use compatible no-hub couplings at the fitting ends; coupling size and type must match the connected pipe diameters and system requirements. | Size transitions in building drainage systems where permitted by the design and code. |
| Cleanout Fitting or Adapter | A drainage access point with a removable plug or cap | Provides access for inspection and clearing a drain line. | The hubless end connects to the drainage pipe with a no-hub coupling; the cleanout opening is closed with its specified plug or cap. | Accessible locations along building drains and at points required by the plumbing design or code. |
Connection note: A no-hub coupling typically uses an elastomeric gasket and a metal shield with tightening bands to join hubless pipe and fittings. Select a coupling listed for the pipe materials, diameters, and application, and install it according to its instructions and local plumbing code.