How to Install a Riser Hanger for Optimal Pipe Support?
Installing a riser hanger is crucial for ensuring optimal pipe support in construction projects. According to industry reports, improperly supported pipes can lead to structural issues and increased maintenance costs. The U.S. National Pipe Support Association emphasizes that effective pipe support, including riser hangers, contributes to system longevity and reliability.
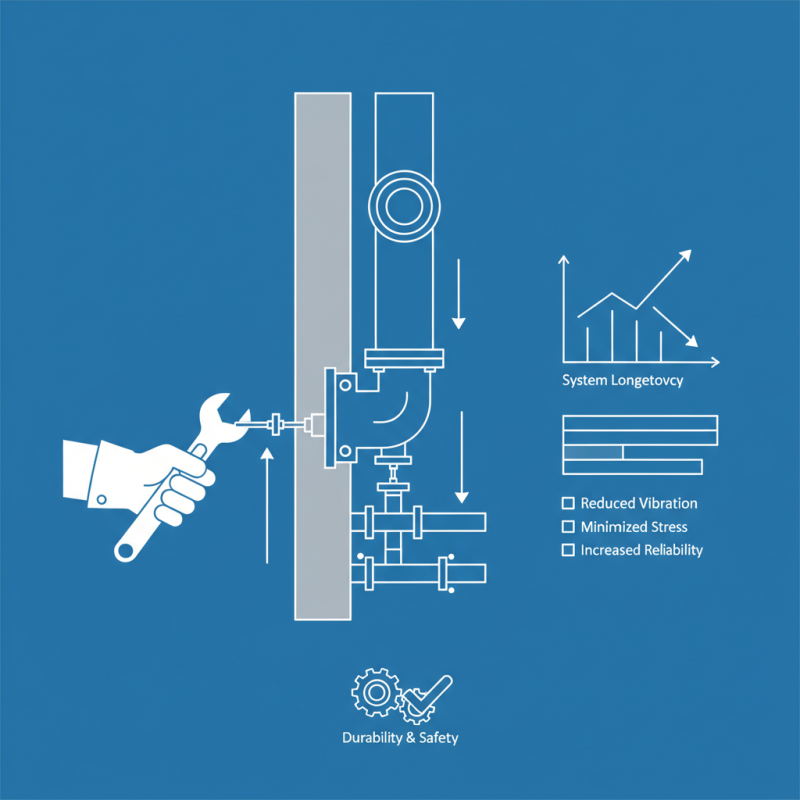
In recent studies, over 30% of plumbing failures were linked to inadequate support systems. This highlights the importance of understanding how to install a riser hanger correctly. A well-installed riser hanger not only reduces vibration but also minimizes pipe stress. Experts recommend following manufacturer specifications closely.
Many professionals overlook proper installation details, leading to future complications. For example, misalignment or inappropriate spacing can compromise system integrity. Investing time in accurate installation and comprehension of riser hangers pays off in durability and safety. With careful consideration, we can reduce risks and improve overall system performance.
Understanding Riser Hangers and Their Importance for Pipe Support
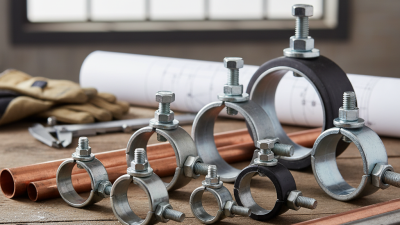
Riser hangers play a critical role in pipe support systems. They are designed to manage vertical pipes. Proper installation ensures stability and prevents bending or breaking. Over time, inadequately supported pipes can lead to leaks or water damage. This is especially crucial in commercial buildings where plumbing systems are complex.
Installing riser hangers correctly requires attention to detail. The spacing between hangers should follow local codes and guidelines. If hangers are too far apart, stress on pipes increases. A poorly installed system might not withstand the pressures of water flow. This can lead to increased maintenance costs and potential hazards.
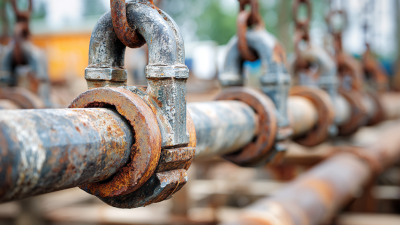
Consider the material of riser hangers. While metal options might be strong, they can rust over time. This point often gets overlooked during installation. Plastic hangers offer a lightweight alternative, but may lack durability. Regular inspections should be part of your maintenance routine. Rethink your choices and installation process when you observe any signs of wear.
How to Install a Riser Hanger for Optimal Pipe Support?
| Riser Hanger Type |
Recommended Pipe Size |
Material |
Load Capacity (lbs) |
Installation Method |
| Standard Riser Hanger |
1" - 2" |
Steel |
500 |
Screw Mounting |
| Adjustable Riser Hanger |
2" - 4" |
Galvanized Steel |
800 |
Clamp System |
| Pipe Support Bracket |
1" - 6" |
Plastic |
300 |
Mounting Bracket |
| Heavy-Duty Riser Hanger |
4" - 8" |
Stainless Steel |
1500 |
Weld Mounting |
| High-Temperature Riser Hanger |
1" - 3" |
Fiberglass |
400 |
Screw Mounting |
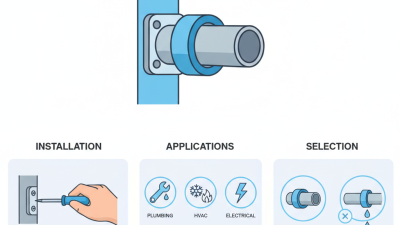
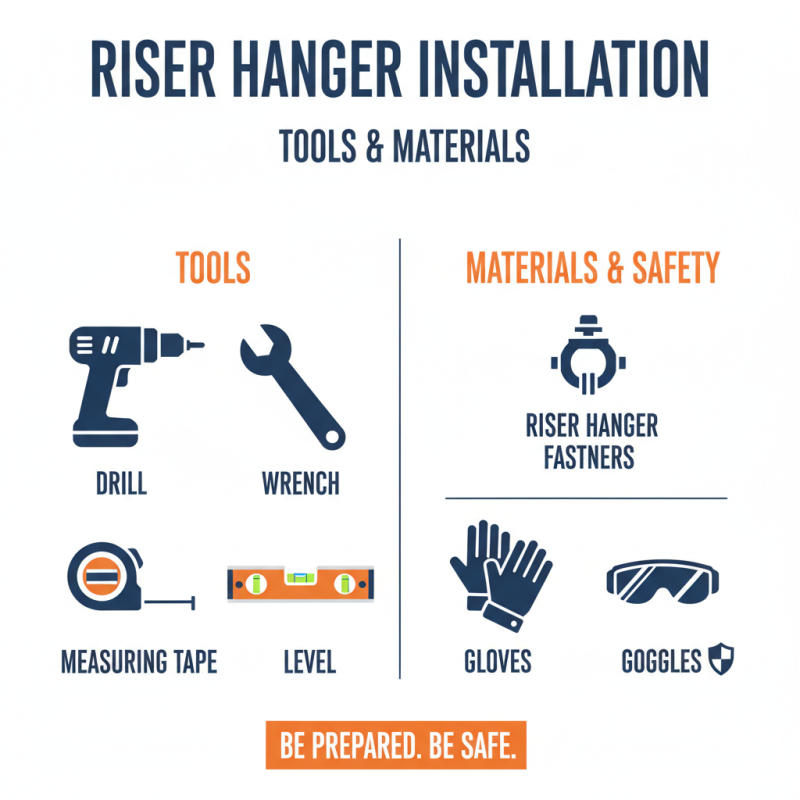
Tools and Materials Required for Installing Riser Hangers
When installing a riser hanger, having the right tools and materials is crucial. Basic tools include a drill, a wrench, and a level. You will also need a measuring tape for accurate spacing. Safety gear like gloves and goggles is essential. These ensure you are protected during the installation. Remember, having everything ready saves time.
Materials required for riser hanger installation involve the hangers themselves and mounting hardware. Use sturdy anchors and screws that can support the weight of the pipes. PVC or metal hangers are common choices. If you're working with larger pipes, ensure the brackets are rated for the load. It's important to double-check the specifications; this avoids issues down the line.
While installing, note that aligning the hangers may take a couple of tries. Even professionals can misjudge spacing. Be ready to adjust once or twice to ensure optimal support. Don’t rush through this step. A well-supported pipe prevents future leaks or damages. Each detail in the setup contributes to a reliable installation.
Step-by-Step Guide to Installing a Riser Hanger
Installing a riser hanger is essential for effective pipe support in any piping system. These hangers are designed to hold vertical pipes securely, preventing sway or movement. Proper installation of riser hangers can greatly improve the durability and lifespan of your piping infrastructure. Studies indicate that nearly 30% of plumbing failures stem from inadequate support, highlighting the importance of proper installation techniques.
To install a riser hanger, begin by assessing the material of your pipes. Monitoring weight distribution is crucial. Then mark the installation points on the wall or ceiling where the hanger will attach. Use appropriate tools to drill holes and secure anchors. The spacing between hangers should not exceed 10 to 12 feet for standard pipes, according to industry guidelines. Ensure that each hanger is level and securely fastened.
Tip: Always use a level when installing hangers. This ensures alignment and reduces stress on the pipes. Over-tightening can lead to pipe deformation, so apply only necessary force. Regularly inspect installed riser hangers to catch any signs of wear or loosening. Staying proactive can prevent costly repairs down the line.
Common Mistakes to Avoid When Installing Riser Hangers
When installing riser hangers, avoiding common mistakes is crucial. One frequent error occurs when users overlook the weight of the piping system. Proper assessment of the pipe load ensures that the chosen hangers can support the weight efficiently. Riser hangers should align with the pipe's specifications. Failing this step can lead to sagging or even damage over time.
Another mistake involves spacing the riser hangers incorrectly. Many installers place hangers too far apart, risking the integrity of the piping. The spacing should be consistent with the local codes and manufacturer guidelines. If hangers are off by just a few inches, they may not provide sufficient support. It's essential to account for expansion and contraction of pipes due to temperature changes.
Finally, ignoring the material compatibility is a misstep. Using hangers made from the wrong material can cause corrosion, particularly in sensitive environments. Make sure to choose materials that match the pipe composition. Rely on professional guidelines to make informed decisions. Each of these pointed details contributes to an effective installation process.
Tips for Ensuring Long-Term Stability and Safety of Pipe Supports
When installing a riser hanger, ensuring long-term stability and safety is critical. A well-designed hanger supports the load effectively and reduces stress on the pipes. According to the American Society of Mechanical Engineers (ASME), improper support can lead to 30% more wear on piping systems. Over time, this can result in leaks or even failures.
Regular inspections are essential. Inspect the hangers for signs of corrosion, misalignment, or wear. Engaging with industry guidelines, such as those from the International Code Council (ICC), can help maintain structural integrity. It is crucial to note that not all materials withstand environmental conditions equally. For instance, PVC supports may not be the best choice for high-temperature applications, as they can deform under heat.
The installation process itself is often overlooked. Placing the hanger too close to the elbows can increase stress concentrations. Additionally, a lack of adequate clearance can lead to friction and premature failure. Some studies indicate that only 60% of installations are performed according to industry standards, which raises concerns about safety and performance. It's vital to prioritize these details for longevity.